A slider changes an exercise by taking away the fixed point. Your foot or your hand keeps moving through the whole rep, so the muscle holding the position never gets the short rest it gets when something is planted on the floor. That is the idea behind the Glute Ham Slider, and it is why one piece of gear covers hamstrings, glutes, chest, shoulders, and core.
It measures 27" x 12" x 4" (68 cm x 30 cm x 9 cm) and weighs 11.8 lb (5.3 kg), so it stores upright against a wall or under a bench. Below are fourteen exercises, how to perform each one, and what each is actually training.
How the Glute Ham Slider Works
You use it three ways. Tuck your heels or your toes into it for hamstring and glute work. Grip the handles for rollouts and chest movements. Or run a cable to the eyelet on the eyelet version for added resistance.
Heavy-duty wheels and a black powder coat give it a smooth roll and keep it from rusting in a garage gym. That smooth roll is the point: nothing stops the slider except you. Every rep becomes an exercise in controlling the eccentric, which is where most of the strength and most of the soreness comes from.
Two rules apply to everything on this list. Move slowly, because speed hands the work back to momentum. And stop the set when your form breaks rather than when the number says to, since a slider punishes a dropped hip or a sagging rib cage immediately.
Lunge Variations
Reverse Lunge
Stand with one foot flat on the floor and the other resting on the slider. Roll the Glute Ham Slider foot straight back, lowering the back knee toward the ground while the front knee bends. Pull it back in by driving through the front heel until you are standing again.
This exercise trains the quad and glute of the standing leg which makes it a useful single-leg starting point for anyone who finds a split squat awkward.
Lateral Lunge
Set one foot on the slider and push it out to the side, keeping that leg straight while you sit back into the hip of the standing leg. Pull the slider back to the center using the inside of the sliding leg and the glute of the standing leg.
This one trains the frontal plane, meaning side to side movement. It works the adductors of the sliding leg and the glute medius of the standing leg, and it opens up hip mobility that squats and deadlifts leave untouched.
Hamstring and Glute Exercises
Glute Bridge
Lie on your back with your knees bent and both heels tucked into the slider. Press through your heels and lift your hips until your body forms a straight line from knees to shoulders. Squeeze at the top, then lower under control.
It is a strong warm-up before heavier hinging and a good way to feel the glutes switch on.
Glute Bridge to Hamstring Curl
Start in the top of a glute bridge. From there, push the slider away until your legs are nearly straight, keeping your hips high, then drag the heels back in to return to the bridge. The hips stay lifted for every rep.
Holding the bridge while the legs extend and flex loads the hamstrings at both of their jobs at once: extending the hip and bending the knee. This is the hardest working exercise on the list for the posterior chain, and hips dropping toward the floor is the sign to stop the set.
Hamstring Curl
Same setup as the bridge, but you focus only on the extend and pull. Lift the hips, straighten the legs out, and pull the heels back toward your glutes. Keep the pace slow on the way out.
Removing the hip drive isolates the knee flexion side of the hamstrings. Sliding curls build the eccentric strength that the hamstrings need most, which matters for anyone who sprints, plays field sports, or wants a stronger deadlift lockout.
Single-Leg Hamstring Curl
Set one heel in the Glute Ham Slider and hold the other leg off the floor. Bridge up, extend the sliding leg out, then pull it back in without letting the hips rotate or drop.
Taking one leg away roughly doubles the load on the working side and exposes a strength difference between legs that both-leg work hides.
Chest and Upper Body Exercises
Kneeling Push-Up With a Chest Fly
Kneel with both hands on the slider handles. Lower into a push-up, then let your hands roll outward into a fly position before pulling them back underneath your chest and pressing up.
Adding the fly turns a push-up into two movements, and it stretches the chest at the bottom in a way a fixed push-up cannot. Kneeling keeps the load manageable while you learn the path of the roll, which is worth doing before you go to your toes.
Standard Push-Up With a Chest Fly
The same movement from a full plank position on your toes. Lower, roll the hands out, pull them back in, press up.
With more bodyweight over the hands, the chest, front delts, and triceps all work harder, and the core has to stop your hips sagging while the arms move. Control the roll on the way out.
Core Exercises
Abdominal Rollout
Kneel with both hands on the handles. Roll the slider forward, keeping your ribs pulled down and your hips from sagging, until you reach the furthest point you can still control. Pull back to the start using your abs rather than your hips.
This is the ab wheel movement on a wider, more stable base, which makes it easier to keep the slider tracking straight. It trains the abs to resist extension, the same quality that keeps your lower back safe under a loaded bar. Distance is not the goal. A short rollout with a locked midsection beats a long one with a dropped hip.
Knee Tucks
Get into a push-up plank with both feet in the slider and your hands on the floor. Pull your knees in toward your chest, then push the slider back out until your legs are straight and your body is back in a plank.
The pulling phase works the lower abs and hip flexors while the shoulders and upper back hold the plank.
Single-Leg Knee Tuck
Same plank position, but only one foot rests in the slider while the other stays lifted. Pull the one knee in, then extend it back out.
With the load on one side, the core has to resist rotation as well as flex, so the obliques get involved. It also stops the stronger leg covering for the weaker one.
Push-Up to Knee Tuck
From the plank with feet in the slider, perform a push-up, then pull the knees in to the chest and push them back out.
Stacking a press onto a tuck makes it a full-body movement, hitting chest, shoulders, triceps, and abs in the same rep. It works best as a finisher, when you want conditioning out of a movement rather than pure strength.
Plank to Pike
Start in a plank with your feet in the slider. Keeping your legs straight, pull your hips up toward the ceiling so your body forms an inverted V, then lower back down into the plank.
Straight legs make the lever longer, so this is significantly harder than a knee tuck. It loads the lower abs through a bigger range and asks for hamstring flexibility and shoulder stability at the same time. Bend the knees slightly if your hamstrings limit the top position.
Push-Up to Pike
Press out of a push-up, then drive the hips straight up into the pike before returning to the plank.
This is the hardest exercise on the list. It asks for shoulder stability, straight-leg core strength, and hamstring range in a single rep, which makes it a reasonable benchmark for whether you have the other thirteen under control.
Which Version to Choose
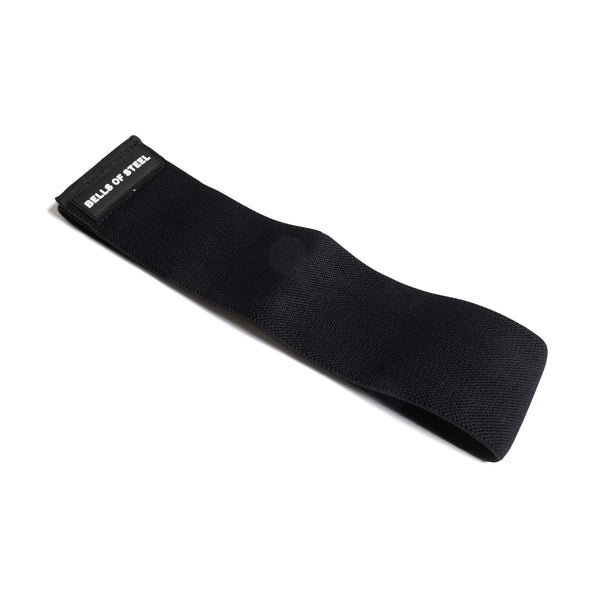
The Glute Ham Slider with Eyelet takes a cable attachment, so you can add resistance beyond bodyweight once the standard versions get easy. It also pairs with resistance bands or a glute loop for extra tension on the bridges and curls.
The Mini Glute Ham Slider has a smaller footprint and suits single-leg work, where you only need one foot supported.
Where It Fits in a Home Gym
If you have been putting off hamstring work because a GHD does not fit the room or the budget, this covers most of the same ground in about a square foot. It also earns its place next to the rest of the core training gear as a warm-up tool, and sits comfortably among the strength training accessories that stay useful long after the novelty wears off.