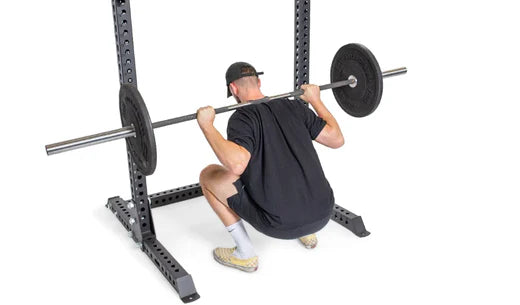
If you're a regular gym-goer, you've probably seen it lurking in the corner of the weight room, waiting for its moment of glory – the squat rack.
This hulking piece of equipment is not just a metal frame; it's your ticket to sculpted legs and a posterior that can stop traffic. It’s also the perfect space-efficient option for minimalist home gyms!
But before you dive into squatting like a pro, let's break it down in this comprehensive guide on how to use a squat rack. Before we embark on this journey of squats and gains, let's introduce you to the star of the show – the squat stand.
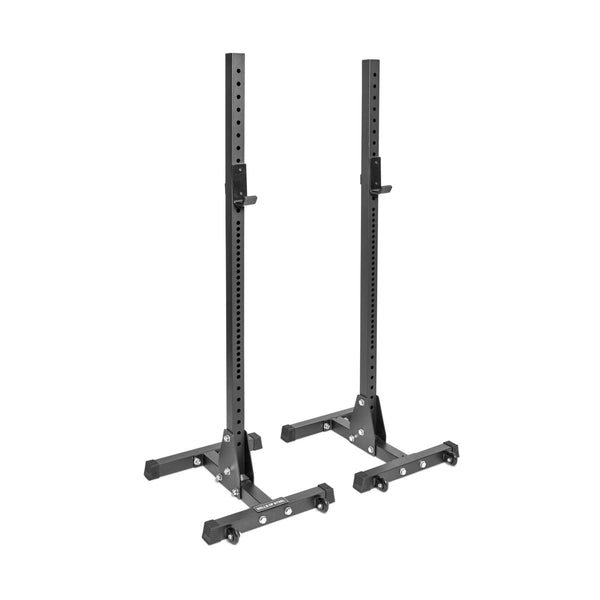
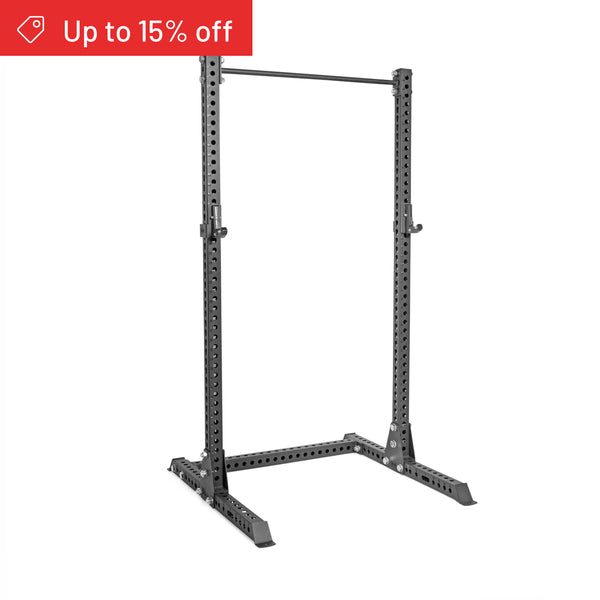
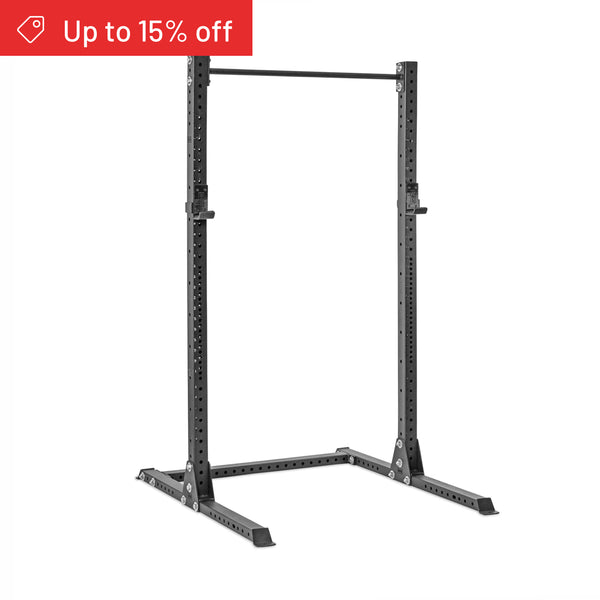
For this article, we'll be referencing the Bell of Steel Hydra 3x3 Inch Squat Stand because, well, it's a beast worth mentioning. Feel free to check it out here for added inspiration. A squat stand, often referred to as a squat rack, is a piece of gym equipment designed to support your weightlifting endeavors, primarily squats. It consists of two vertical posts with adjustable J-hooks or spotter arms. The purpose? To provide a secure and stable platform for you to perform squats safely.
Now that you know what it is, let's dive into how to make the most of it.
Step 1: Adjust the J-Cups
Begin by setting the J-cups or spotter arms at an appropriate height. Ideally, they should be just below shoulder level. This ensures that you can unrack the barbell with ease and maintain proper form throughout your squat.
Step 2: Position Yourself
Stand facing the squat rack with your feet shoulder-width apart. Ensure that the barbell is aligned with your upper chest.
Duck under the bar and let it rest along your upper back (the position will vary based on your range of motion—we’re not diving into high bar squats vs. low bar squats today). Firmly grip the bar.
Step 3: Unrack the Bar
Push through your feet and stand up straight to lift the bar off the J-hooks or spotter arms. Step back, position your feet just outside of hip width, and take a deep breath – you're about to conquer gravity!
Step 4: Perform the Squat
Now, it's time to execute the perfect squat. Remember these key points:
- Form is Everything: Keep your chest up, back straight, and core engaged. Your knees should track over your toes as you descend.
- Hinge Your Hips: Focus on hingeing your hips backward before bending your knees as though you’re sitting down on a chair.
- Depth Matters: Aim to break parallel, meaning your hips should go below your knees. This ensures you're getting the full benefit of the squat.
- Breathe Right: Inhale as you lower yourself, and exhale as you push the weight back up. This helps maintain stability and control.
- Don't Rush: Take your time. Rushed squats are a recipe for disaster. Focus on control and balance.
Learn more about the proper barbell squat method here.
Step 5: Rack the Bar
Once you've completed your set, carefully rack the barbell back on the J-cups or spotter arms. Ensure it's securely in place before you let go.Using a squat rack is not just about lifting heavy; it's about doing it safely and effectively. Here are some common concerns and how to address them:
1. Safety First
Always use collars on the barbell to prevent the weights from sliding off accidentally. This simple step can save you from a potentially embarrassing situation.
2. Spotter or No Spotter?
If you're lifting heavy, having a spotter is a smart move. They can assist you if you struggle to complete a rep and provide valuable encouragement.
3. Warm-Up Matters
Don't jump straight into your working weight. Warm up with lighter sets to prepare your muscles and joints for the real deal. Check out a full squat warm-up from a physiotherapist and strength training expert, in this guide.
4. Avoid Overloading
Sure, it's fun to stack on the plates, but overloading the barbell can lead to injury. Progress gradually and prioritize proper form over ego lifting.
5. Keep the Area Clear
Ensure there's enough space around the squat rack to perform your squats safely. Nobody wants to accidentally bump into the water cooler mid-squat.
Q: How deep should I squat?
A: As mentioned earlier, aim to break parallel, which means your hips should go below your knees. This ensures you're engaging all the right muscles.
Q: Can I squat without a squat rack?
A: You can, but it's not recommended for heavy lifting. Squat racks provide safety and stability, making them the preferred choice.
Q: How do I know if I'm using proper form?
A: Consider asking a trainer for guidance or recording yourself and comparing it to proper squat form videos.
Q: Is it okay to use the squat rack for other exercises?
A: Absolutely! Squat racks are versatile and can be used for exercises like bench presses, overhead presses, and even pull-ups with the right attachments.Using a squat rack isn't rocket science, but it does require attention to detail and a commitment to safety. By following these steps and guidelines, you'll be well on your way to mastering the art of leg day and building the powerful lower body you've always wanted.
So, head to the gym, find that squat rack, and let the gains begin!


