Whether you’re looking to elevate your workouts or just want to show off a new skill on Instagram, gymnastic rings are a versatile and challenging addition to your fitness routine.
The best part? Hanging them up is a lot easier than you might think. In this guide, I'll walk you through the steps for both a pull-up bar on a power rack and a wall-mounted pull-up bar. So, let’s get those rings swinging!
Important: Before getting started, ensure that your gymnastic rings are securely attached to a strong, bolted-down structure. Prioritizing safety is key—after all, nothing disrupts a workout quite like an unexpected fall!
How To Hang Gymnastic Rings
There are two main ways to mount gymnastic rings to a pull-up bar, giving you flexibility depending on your setup.
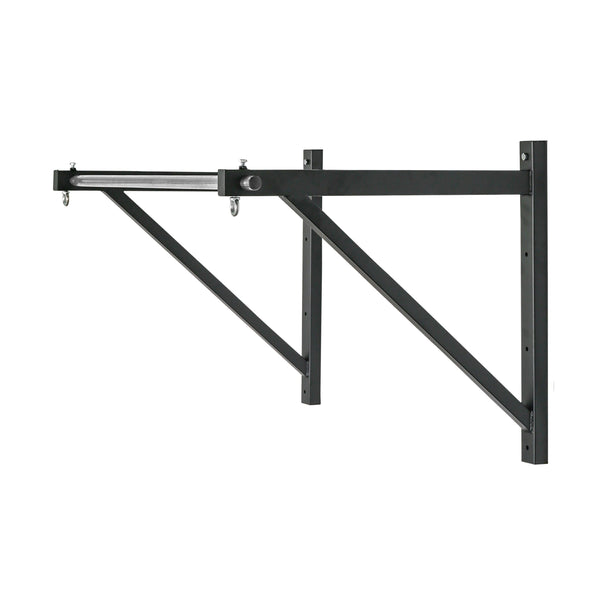
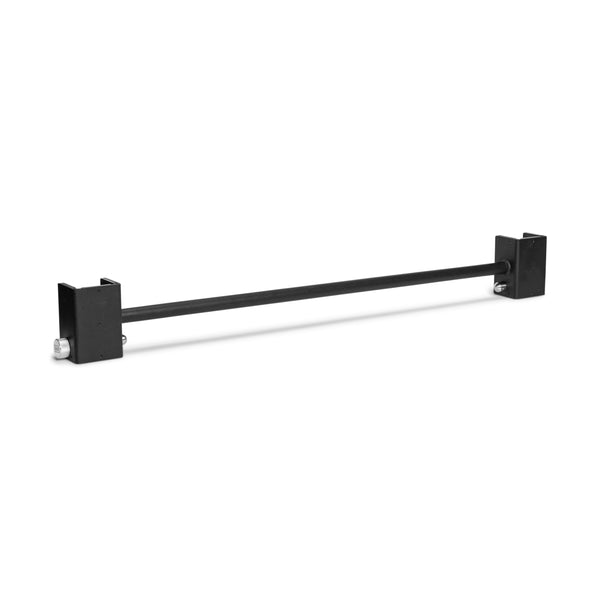
If you’ve got a power rack, you can easily attach the rings to its pull-up bar, ensuring a stable and secure anchor point. Alternatively, if you’re working with a standalone pull-up bar mounting the rings is just as simple. Both are covered below.
Power Rack Pull-Up Bar
If you've got a power rack at home, hanging gymnastic rings is a breeze. Follow these steps to set up your rings safely and securely:
Step 1: Choose the Right Spot
- Find a pull-up bar on your power rack that’s high enough so you won’t hit the ground when hanging from the rings. Ideally, there should be at least 7 feet of clearance from the floor to the bar.
- Make sure the pull-up bar is sturdy and can handle your weight plus the extra stress from the rings. Most power racks are designed to withstand this, but it’s always good to double-check.
Step 2: Unwrap and Inspect Your Rings
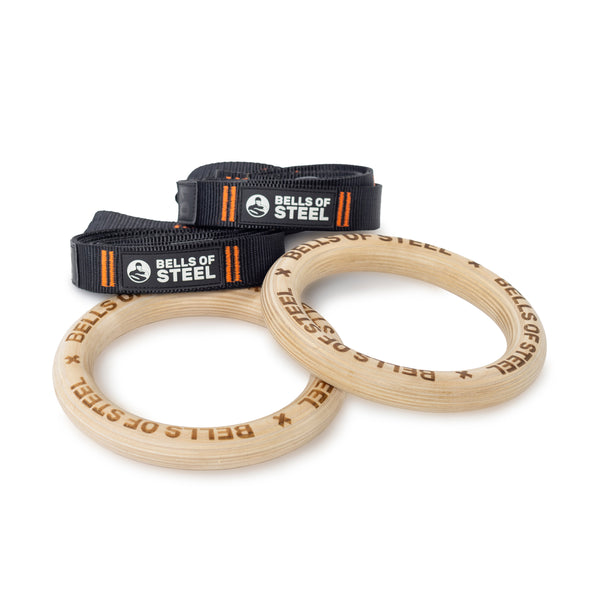
- Take out your gymnastic rings and straps from their packaging. Give them a quick look to make sure there aren’t any defects or frayed parts. Trust me, you don’t want your rings to snap mid-muscle-up.
Step 3: Loop the Straps Over the Bar
- Throw one end of the strap over the pull-up bar. The strap should hang evenly on both sides. If you’ve got a particularly tall power rack, you might need a step stool or a boost from a very tall friend.
- Slide the strap through the metal buckle (or whatever locking mechanism your rings come with). Ensure the buckle is secured firmly to prevent slipping during your workout.
Step 4: Adjust the Height
- Adjust the straps so that the rings are at your desired height. For exercises like ring rows or push-ups, you’ll want the rings closer to the ground. For dips or muscle-ups, set them higher.
- Remember, you can always change the height later. The beauty of gymnastic rings is that they’re as versatile as your workout routine.
Step 5: Test for Safety
- Give the rings a few strong tugs to make sure everything is secure. Stand on the ground, grab the rings, and lean back to check if they hold your weight. If the straps slip, re-tighten the buckles.
- Once you’re satisfied, hop on and start swinging—er, exercising!
Wall-Mounted Pull-Up Bar
Don’t have a power rack? No problem! You can hang your gymnastic rings from a wall-mounted pull-up bar. Here’s how:
Step 1: Verify the Strength of Your Wall-Mounted Bar
- First things first, make sure your wall-mounted pull-up bar is securely attached to the wall. The last thing you want is for the bar to come crashing down mid-workout. Tighten any loose screws and check that the wall itself can handle the additional load.
Step 2: Position the Straps
- Like with a power rack, loop the straps over the pull-up bar. The key difference here is that you want to ensure the rings are centered and have enough space on either side to move freely. You don’t want the rings clanging against the wall or each other.
Step 3: Adjust the Length
- Adjust the height of the rings depending on the exercises you plan to do. For wall-mounted setups, it’s usually better to keep the rings a bit lower to avoid any accidental wall collisions during your workout.
Step 4: Safety Check
- Perform the same safety check as you would with a power rack setup. Test the rings by pulling on them and applying some weight. Make sure everything is solid before you start your workout.
Final Thoughts
There you have it—hanging gymnastic rings is a simple process that adds a world of possibilities to your fitness routine. Now go ahead, unleash your inner gymnast, and remember to have fun with it. And if anyone asks how you got so ripped, just tell them, “It’s all in the rings!”


