So, you’ve decided to take the plunge and hang gymnastic rings from your ceiling. Great choice! Gymnastic rings are a fantastic way to build strength, flexibility, and coordination. Plus, they make you look like a total beast.
Let’s dive into the nitty-gritty of how to hang those bad boys up, whether you’re using a ceiling-mounted pull-up bar or ceiling joists.
Safety Reminder: Before you begin, double-check that your gymnastic rings are securely fastened to a solid, bolted-down support. Remember, safety comes first—because a surprise drop can quickly end your workout!
How To Hang Gymnastic Rings To Ceiling
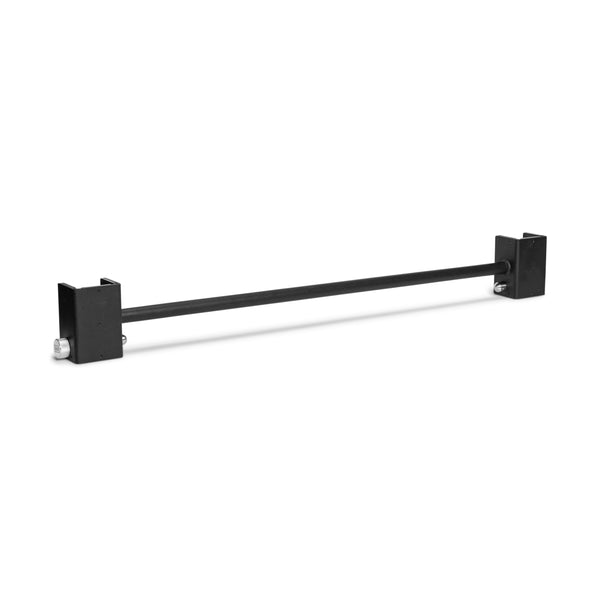
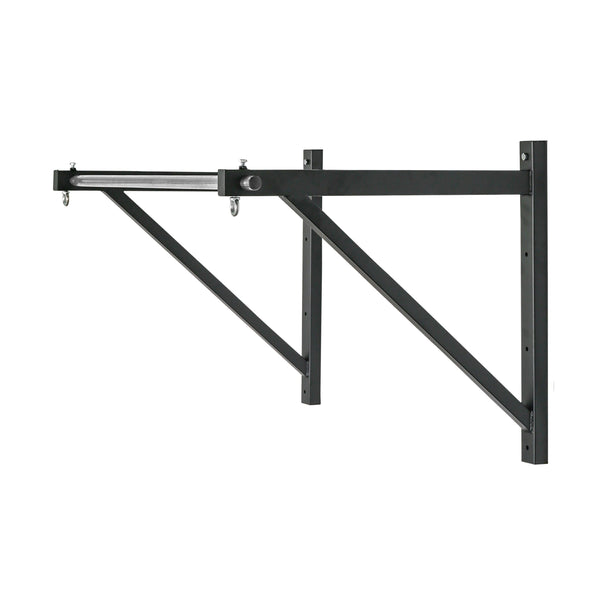
There are two main ways to hang gymnastic rings from your ceiling: you can either use a ceiling-mounted pull-up bar or attach them directly to the ceiling joists.
Both methods provide a sturdy and secure setup for your workouts, but the choice depends on your available space and personal preference.
Hanging from a Ceiling-Mounted Pull-Up Bar
1. Choose the Right Pull-Up Bar
Make sure your pull-up bar is sturdy and can handle the additional weight of the rings. Look for one that’s securely mounted to the ceiling and has enough clearance for you to swing around without hitting your head.
2. Gather Your Tools
You’ll need a drill, screws, a measuring tape, and a stud finder. Oh, and don’t forget the gymnastic rings!
3. Find the Studs
Use the stud finder to locate the ceiling joists. Mark these spots with a pencil. This is crucial because you want your pull-up bar to be anchored into something solid.
4. Measure and Mark
Measure the distance between the mounting points on your pull-up bar. Transfer these measurements to the ceiling, ensuring they align with the studs you marked earlier.
5. Drill Pilot Holes
Drill small pilot holes into the ceiling where you’ve marked. This makes it easier to screw in the mounting hardware and reduces the risk of splitting the wood.
6. Mount the Pull-Up Bar
Screw the pull-up bar into the ceiling using the provided hardware. Make sure it’s tight and secure. Give it a good tug to ensure it’s not going anywhere.
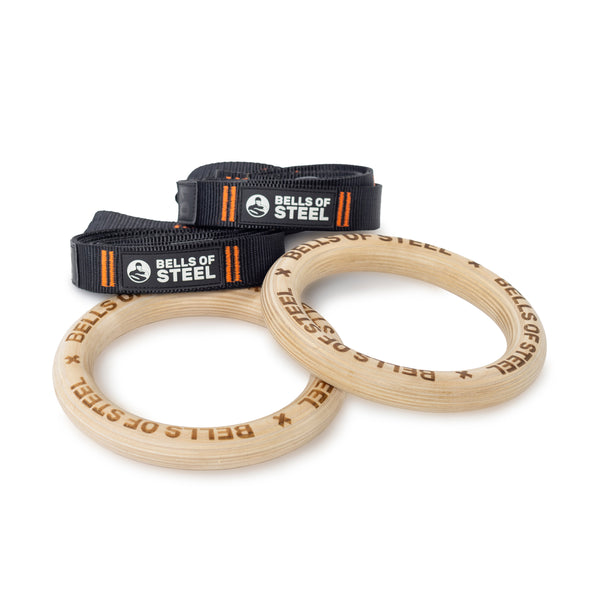
7. Attach the Rings
Loop the straps of your gymnastic rings over the pull-up bar. Adjust the height to your preference and make sure the straps are even. Double-check that everything is secure before you start swinging around.
Hanging from Ceiling Joists
1. Locate the Joists
Use a stud finder to locate the ceiling joists. Mark these spots with a pencil. You’ll want to hang your rings from these joists for maximum stability.
2. Measure and Mark
Decide how far apart you want your rings. A good starting point is shoulder-width apart. Mark these spots on the ceiling.
3. Drill Pilot Holes
Drill small pilot holes into the joists where you’ve marked. This will make it easier to screw in the eye bolts and reduce the risk of splitting the wood.
4. Install Eye Bolts
Screw the eye bolts into the pilot holes. Make sure they’re tight and secure. Give them a good tug to ensure they’re not going anywhere.
5. Attach the Rings
Loop the straps of your gymnastic rings through the eye bolts. Adjust the height to your preference and make sure the straps are even. Double-check that everything is secure before you start your workout.
Pro Tips
Test the Strength, First
Before you go full Cirque du Soleil, test the strength of whatever you're hanging your rings from. Give it a few good tugs to ensure it can handle your weight and then some.
Adjust the Strap Length
For most exercises, you’ll want the rings to hang about 8-10 feet off the ground. If you're working on dips or muscle-ups, you might need them higher. Always adjust the strap length/ring height based on the exercises you plan to do.
Use Carabiners
If you plan on frequently adjusting the height of your rings, consider using carabiners. They allow for quick changes without having to re-thread the straps every time.
Final Thoughts
And there you have it! Whether you’re using a ceiling-mounted pull-up bar or ceiling joists, hanging gymnastic rings is a straightforward process that can transform your home gym.
Just remember to double-check all your measurements and ensure everything is securely fastened. Now, go forth and conquer those muscle-ups, dips, and L-sits like the gymnastic warrior you are!


