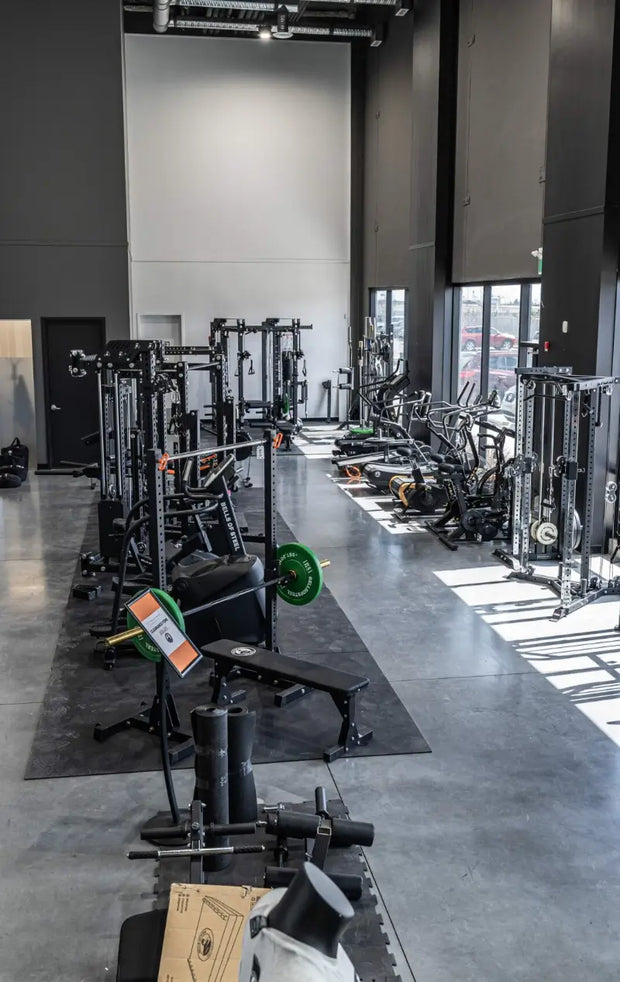
If you want a fast and simple way to set up your training space, the Home Gym Builder is the tool you need. It walks you through each step, from choosing a rack to picking plates, so you can create a beginner-friendly gym in minutes. You will have the right gear for your goals without wasting time guessing what to buy.
Why Use The Home Gym Builder?
The Home Gym Builder makes planning your setup easy. Instead of browsing endless product pages, you can follow a step-by-step guide. Items are grouped by category, so you can see how each piece fits together. The builder helps you select the right rack, bar, bench, plates, flooring, and accessories for your space and training style. Plus, you get a bulk discount on your home gym!
Step 1: Choose the Right Rack
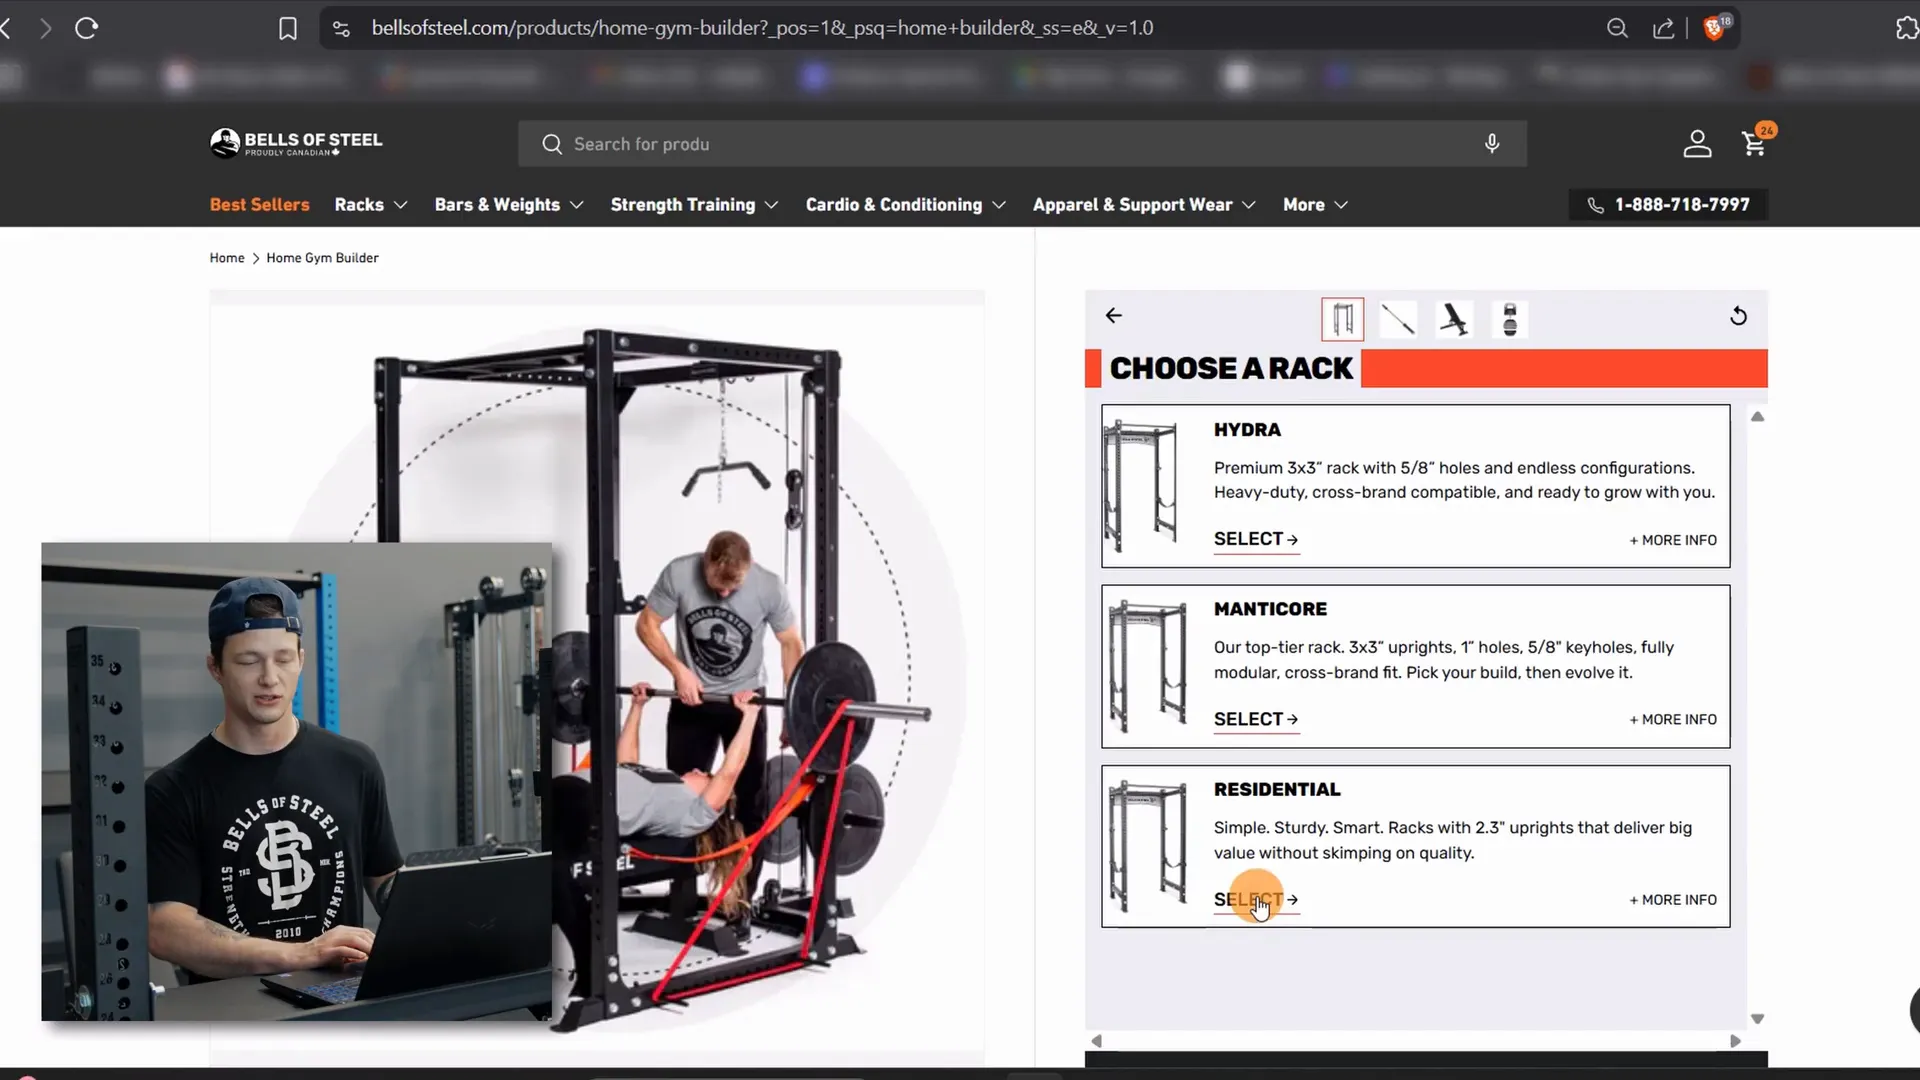
Your rack is the foundation of your gym. For most beginners, the Residential Rack is a reliable and compact choice. Select a height that works for your ceiling:
- 72 inches – for lower ceilings
- 84 inches – best for standard spaces
The residential rack includes:
- One pair of triple-padded J-cups
- One pair of pin pipe safeties
- Bare steel pull-up bar
- Concrete anchors
Always check the product page to see exactly what is included before adding it to your cart.
Step 2: Pick a Barbell
Choose a standard 7-foot, 45 lb Olympic bar. The recommended option is a Multi-purpose Olympic barbell, often called a Utility Bar. This bar works well for:
- Olympic lifting
- Powerlifting
- CrossFit-style workouts
- General strength training
It is a durable, versatile choice if you want one bar for all training styles.
Step 3: Select a Bench
For versatility and space savings, pick a Flat Utility Bench. It is:
- Compact and easy to store
- Suitable for bench press, step-ups, and hip thrusts
- A cost-effective all-purpose bench for beginners
If you need more versatility, the Adjustable Utility Bench is a solid choice—and our founder's personal favorite.
Step 4: Add Plates
Bumper-style plates are ideal for weightlifting and WOD training. Our recommended choice is Dead Bounce Conflict Bumper Plates, which have:
- Mostly black design with color-coded lettering by weight
- Low to minimal bounce
- Protection for your bar and floor during drops
- Select plate sizes based on your current strength and your progress goals.
Step 5: Install Flooring
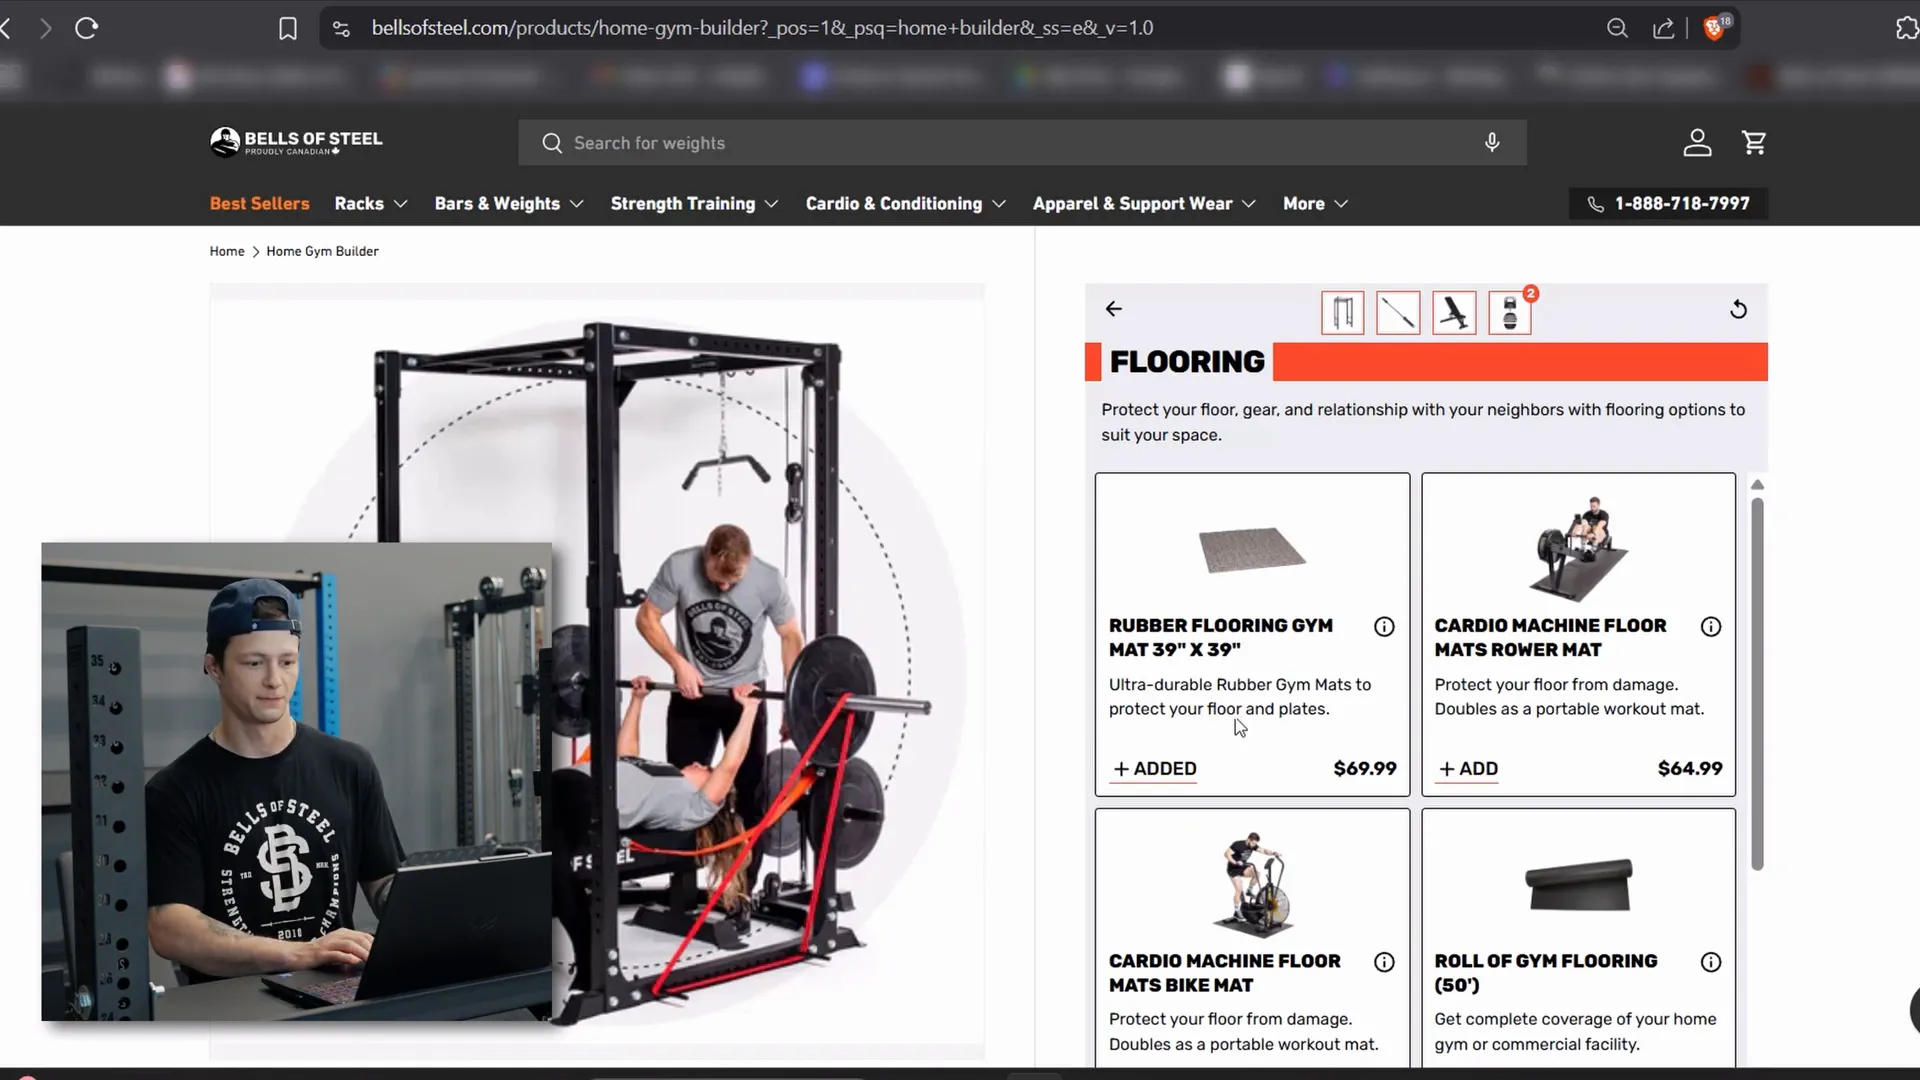
If your gym will be in an unfinished basement or garage, flooring is essential. Rubber mats protect your floor, provide grip, and keep your equipment stable.
Recommended product: Rubber Flooring Gym Mat (39 x 39 in, 3/4 in thick)
Start with four mats for a stable lifting area, then add more if you need extra coverage.
Step 6: Add Barbell Accessories
We always recommend keeping your plates secure during lifts. Magnetic Clamp Collars are a great choice because they:
- Stay firmly in place
- Are easy to use
- Come in colors for better visibility
Colored collars are also easier to spot and harder to lose.
Quick Setup Checklist
- Measure your ceiling height and floor space before choosing rack height and flooring quantity.
- Start with a multipurpose barbell if you want one bar for all lifts.
- Buy enough flooring to cover your rack’s footprint plus some extra space.
- Use color-coded plates and collars for faster loading.
- Adjust quantities for single items like mats after adding them to your cart.
Conclusion
The Home Gym Builder takes the guesswork out of creating a beginner home gym.
By following a guided selection process, you can choose a power rack, some barbells, a bench, weight plates, rubber mats, and accessories that work together. This ensures your gym fits your space, supports your training, and is ready for use right away.