Are you tired of those puny biceps and longing for a way to pump up those guns without leaving your home? Look no further, my fellow home gym owners, because the bicep row is here to save the day! In this article, we'll dive deep into this fantastic exercise, addressing commonly asked questions, explaining what a bicep row is, the muscles it targets, proper execution, and much more. Let's roll up those sleeves and get started!
The bicep row is a versatile strength training exercise that specifically targets the biceps brachii, those beautiful muscles on the front of your upper arm. But that's not all; it also engages your upper back and shoulders, making it a fantastic compound movement for overall upper body development.
Before we get into the nitty-gritty of how to perform the bicep row, let's take a quick look at the muscles it works:
1. Biceps Brachii:
The primary target of the bicep row, these muscles are responsible for flexing your elbow and bringing your hand closer to your shoulder.
2. Upper Back (Rhomboids and Trapezius):
The upper back muscles play a crucial role in stabilizing your shoulders during the exercise, making them work hard alongside your biceps.
3. Anterior Deltoids:
The front part of your shoulders gets a good workout, helping improve shoulder strength and stability. Now, let's get into the nitty-gritty of how to do the bicep row correctly.Follow these steps to perform the bicep row like a pro:
Step 1: Equipment and Setup
You'll need the following:
Step 2: Proper Stance
- Stand with your feet shoulder-width apart.
-
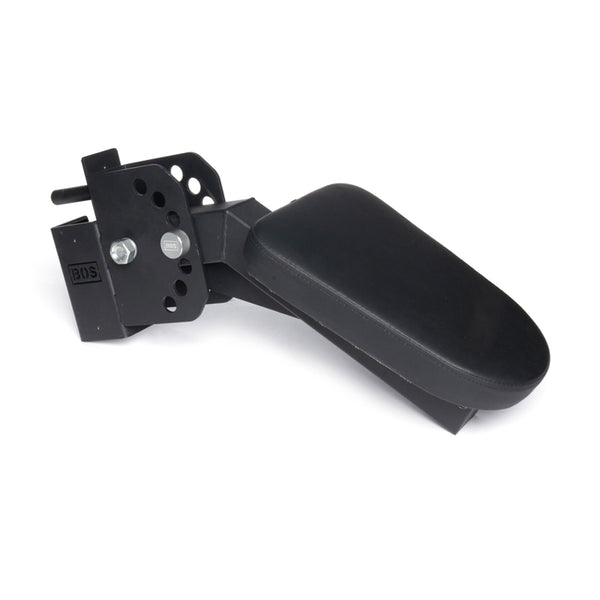
Bend your knees slightly and hinge at the hips. You can also support yourself on an incline bench or seal row pad.
Step 3: Grip
- Hold the barbell or dumbbells with an underhand grip (palms facing you).
- Keep your hands shoulder-width apart.
Step 4: Execution
- Start with your arms fully extended, hanging at your sides.
- Slowly curl the weight up towards your chest, keeping your elbows close to your body.
- Squeeze your biceps at the top of the movement.
- Lower the weight back to the starting position with control.
Step 5: Sets and Reps
- Aim for 3-4 sets of 8-12 repetitions, but adjust based on your fitness level and goals.
Now that you know how to perform the bicep row, let's talk equipment. As a home gym owner, you don't need a ton of fancy gear to get started. Here's what you'll need:
Barbell or Dumbbells:
You can use a barbell or dumbbell depending on your preference and the equipment you have. Dumbbells are a great choice for beginners.
Weight Bench:
A weight bench provides support and allows you to perform the exercise with proper form. Alternatively, you can use a super convenient seal row pad rack attachment.
Weight Plates or Additional Dumbbells:
You'll need these to add resistance and challenge your biceps as you progress. Start with lighter weights and gradually increase the load. Variety is the spice of life, and the same goes for your workout routine. If you want to switch things up or target your biceps from different angles, here are some alternative and advanced variations of the bicep row:
1. Single-Arm Bicep Row:
Hold a dumbbell in one hand and row one arm at a time to isolate each bicep effectively.
2. Hammer Curls:
Instead of an underhand grip, use a neutral grip (palms facing each other) with dumbbells to work on the brachialis muscle, which contributes to overall bicep size.
3. 21s:
A fun and challenging variation that involves doing 7 half-reps from the bottom to mid-range, 7 half-reps from mid-range to the top, and then 7 full-range reps. The bicep row is undoubtedly a fantastic exercise for building those biceps, especially if you perform it with proper form and progressively increase the resistance. However, it's important to remember that no single exercise is the "best" for everyone. Your workout routine should include a variety of exercises to target different aspects of your biceps and overall arm development. Incorporate exercises like chin-ups, barbell curls, and preacher curls to ensure a well-rounded bicep workout. Additionally, make sure your nutrition supports muscle growth and that you get enough rest for recovery.
Q1: Can I do bicep rows with resistance bands?
Absolutely! Resistance bands are a great alternative for this exercise. Simply attach them to a sturdy anchor point and use the same rowing motion as you would with free weights.
Q2: How often should I do bicep rows?
You can include bicep rows in your routine 1-2 times a week, depending on your workout split and goals. Just remember to allow your muscles to recover between sessions.
Q3: Can I use a curl bar for bicep rows?
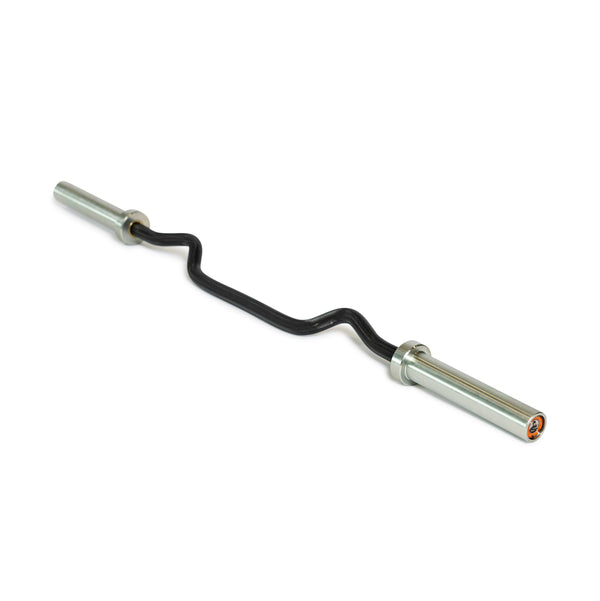
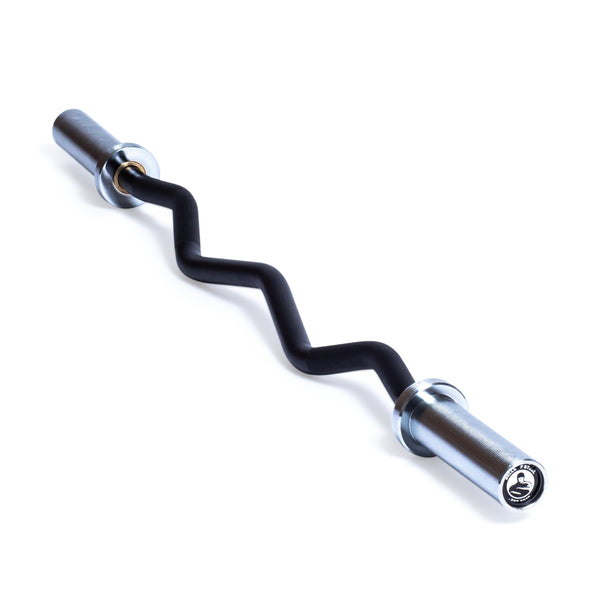
Yes, a curl bar can be a great alternative to a straight barbell, as it allows for a more natural grip and reduces stress on the wrists.
Q4: What's the best time to do bicep rows during my workout?
Bicep rows are an excellent exercise to include in your arm-focused workout routine. You can perform them towards the middle or end of your session after warming up. The bicep row is a stellar exercise for home gym owners looking to build bigger, stronger biceps. With the right equipment and proper form, you can achieve impressive results without ever setting foot in a commercial gym. But remember, while the bicep row is a key player in the game, it's just one piece of the puzzle. Mix it up with other exercises and maintain a balanced diet for the best results. So, load up that barbell or grab your dumbbells, and start rowing your way to bigger, more powerful biceps, right in the comfort of your own home!


