If you're a home gym owner with dreams of a shredded back that screams "power," it's time to cozy up to the low row machine. This bad boy is your secret weapon for building a strong, chiselled back that'll make Hercules (or The Rock) raise an eyebrow in envy.
Don't worry if you're new to the game; we’re here to walk you through the low-row machine setup and use with the finesse of a seasoned gym guru. Let's get those muscles flexin'!
Before we dive into the how-to, let's talk about the VIMs (Very Important Muscles) this machine targets:
- Latissimus Dorsi (Lats): These are the grandmasters of your back, responsible for that wide, V-tapered look. Thank them for your wingspan!
- Rhomboids: Ever heard of posture? These muscles are your body's architects, ensuring you stand tall and proud.
- Trapezius (Traps): Picture those mountains on the backs of Greek gods – that's the work of your traps. Say hello to that powerful neck and upper back.
- Rear Deltoids: Don't forget the deltoids! The rear ones, in particular, benefit from low rows, contributing to your 360-degree shoulder charm.
With these muscles on the guest list, let's roll up our sleeves and set up that low row machine!
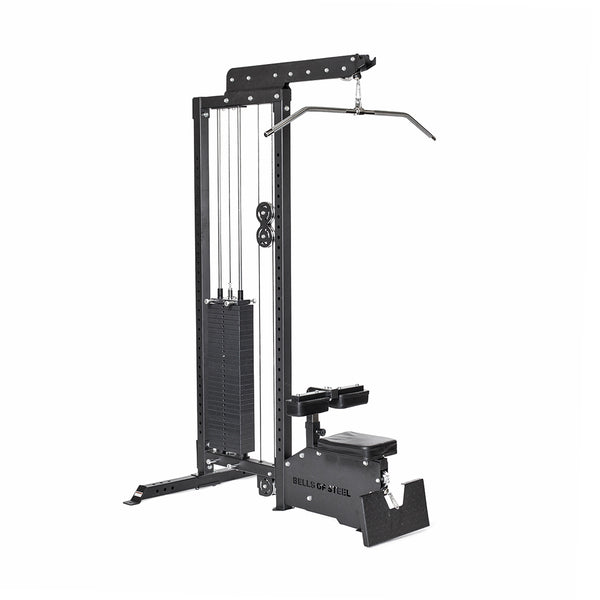
- Find a Solid Base: Place your low row machine in a sturdy spot in your home gym. You want this baby to feel secure. No wobbling allowed!
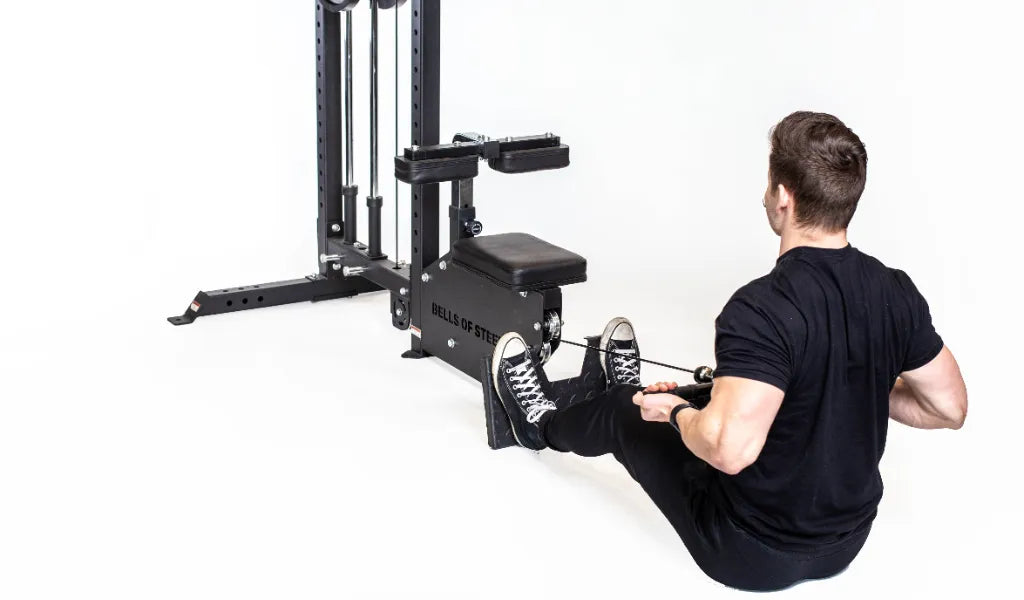
- Adjust the Seat: Sit down on the seat and adjust it to a height where your feet can comfortably reach the footrests. This is your throne of gains; make sure it's comfortable.
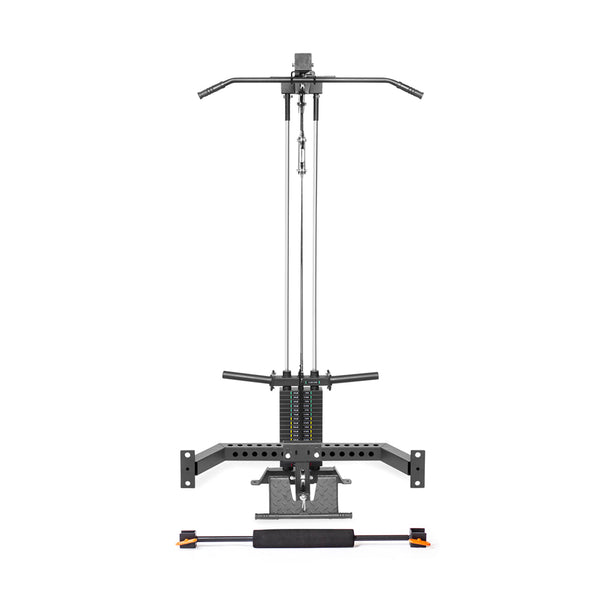
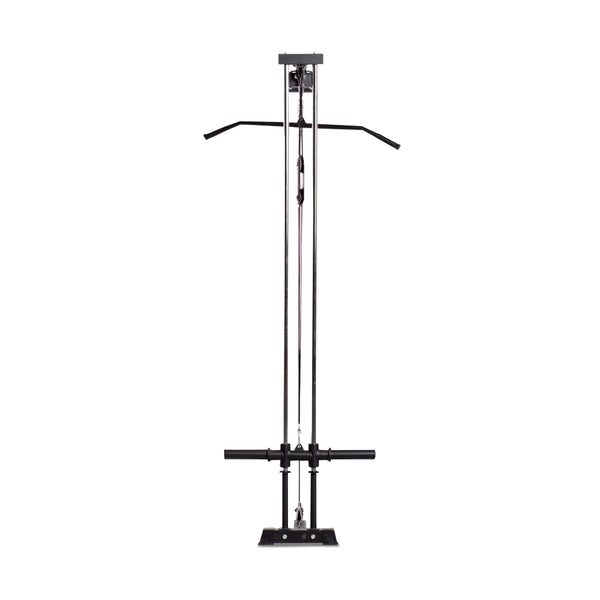
- Handle the Handles: Attach the V-bar handle or the rope attachment to the low row cable. Decide which one tickles your fancy, and go for it!
-
- Mind the Weight: Start with a weight that challenges you but isn't going to make you look like a flailing windmill. You can always increase it as you get stronger.
- Grip It and Rip It: Sit up straight, chest out, and grab the handle. Make sure your grip is firm but not the white-knuckle death grip. We're going for control here!
- Set Your Feet: Place your feet on the footrests, knees slightly bent. This is your foundation. You're about to row, not tap dance!
- Retract Those Shoulders: Imagine you're trying to hold a pencil between your shoulder blades. Squeeze those rhomboids and bring your shoulder blades together. This is the "get ready" position.
- Row Like a Champ: Start the pull by driving your elbows back, close to your body. Imagine you're pulling the handles to your lower ribcage. Feel the burn? That's the sweet spot.
- Stay Upright: Don’t lean back like you’re using a rowing machine. Keep your torso upright throughout the movement.
- Control the Descent: Don't just let the weight slam back down. Control the movement as you extend your arms, but keep that tension in your back. Your muscles should be singing!
- Repeat the Magic: Aim for 3 sets of 10-12 reps to begin. Gradually increase the weight as you get more comfortable. Don't rush; form and control are your best pals here.
How often should I row?
Aim for 2-3 times a week, giving your muscles a day or two of rest in between. Quality over quantity, folks!
What's the deal with grip?
Switch it up! Use the V-bar for a different feel or try the rope attachment to engage your muscles in new ways and extend your range of motion. Variety keeps the muscles guessing!
Can I do this if I'm a newbie?
Absolutely! Start with lighter weights, focus on proper form, and gradually increase as you get stronger. Rome wasn't built in a day, and neither is a sculpted back!
The low row machine is your ticket to a back that demands respect and a mirror that begs for more flexing. Keep that setup solid, focus on form, and listen to your muscles – they're the ones with the real secrets. Soon, you'll be the proud owner of a back that turns heads, and you can thank the low row machine for the invite to the gains party!


