The wrist roller is a deceptively simple piece of equipment with the power to build serious grip strength and forearm size.
But if you're not using it correctly—or only using it one way—you leave results on the table.
In this guide, we’ll break down exactly how to use a wrist roller in different setups, how to target various muscle groups, and how to load it for optimal results.
How To Use a Wrist Roller
There are two ways to use a wrist roller, each offering a slightly different challenge.
Standing or Seated
This is the classic method:
-
Load your desired weight (more on that below).
-
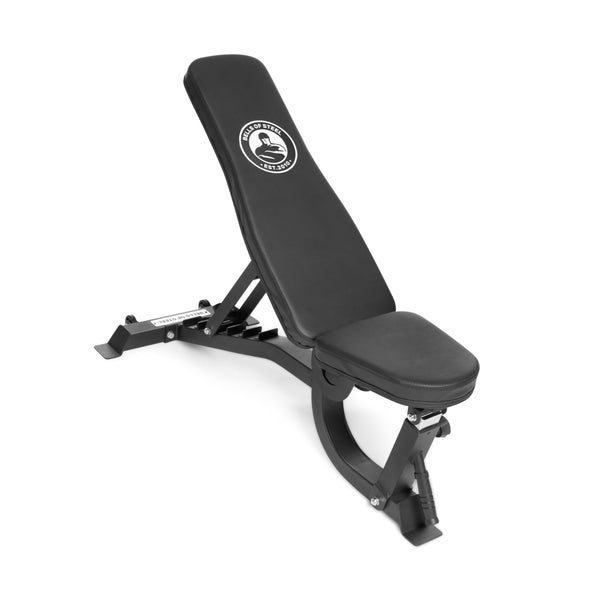
Stand tall or sit on a bench with feet shoulder-width apart.
-
Hold the roller with both hands in front of you at shoulder height.
-
Begin rotating the wrists to lift the weight—keep the arms straight and avoid letting the elbows drop.
-
Once the weight reaches the top, reverse the motion to lower it slowly.
Best For: Full-body tension, posture control, and maximizing time under tension. Great if you want to train your core, shoulders, stabilizers, and forearms.
Drawbacks: Shoulder fatigue can become a limiting factor before your forearms give out.
Rack-Mounted Wrist Roller
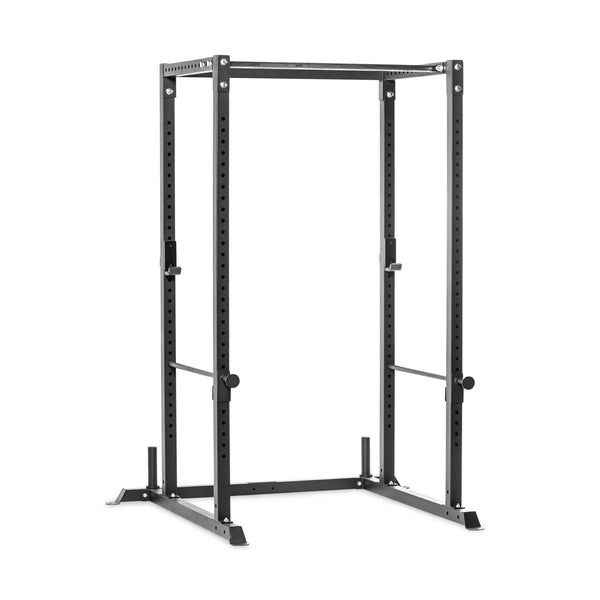
One of the smartest ways to use a wrist roller—especially with heavier weights—is to attach it to a power rack using the rack attachment component. Here's how:
-
Mount the wrist roller rack attachment on a rack upright at shoulder height, factoring in whether you’ll be standing or seated.
-
Thread the strap through the weight of choice.
-
Stand or sit in front of the roller.
-
With elbows at your sides or forearms parallel to the ground, begin rolling the handle to lift the weight.
-
Reverse direction to lower.
Benefits of the Rack-Mounted Version:
- Removes shoulder fatigue from the equation.
- Allows better control and heavier loads.
- Safer for longer sets and eccentric-focused training.
Different Loading Methods: Plates, Kettlebells, Dumbbells
Flexibility is another huge perk of the wrist roller.
-
Weight Plates: The most common loading method. Simple, secure, and scalable. Olympic or standard plates both work, depending on your loading pin.
-
Kettlebells: Ideal for quick adjustments and uneven loading. Great for testing grip control or using in supersets.
-
Dumbbells: Use a sturdy strap to loop through the dumbbell handle if you don’t have plates or kettlebells available.
Pro Tip: Kettlebells and dumbbells introduce a bit of swing and instability, which can further challenge your grip and wrist control—just be mindful to use smooth, controlled motions to avoid injury.
Training Flexors vs. Extensors
You can bias either muscle group based on your grip orientation and the direction of your rolling:
Forearm Flexors (Palm-Down Grip, Rolling Up)
- This is the classic movement.
- Start with the weight at the bottom and roll it upward with palms facing down.
- Builds size and strength in the front of the forearms.
Forearm Extensors (Palm-Up Grip, Rolling Up)
- Flip your grip so palms face up.
- Still roll the weight upward, but now you’re targeting the top side of your forearms.
- This variation is typically harder and less commonly trained, so it’s helpful for balanced development and joint health.
Tip: Do separate sets for each to avoid muscular imbalance and overuse injuries.
Final Thoughts
There’s no one-size-fits-all method for wrist roller training. The key is intention, whether you stand, sit, or mount it to a rack. Are you isolating the forearms? Going heavy for grip strength? Building endurance?
Switching up your body position, grip orientation, and loading tools will give you a more well-rounded forearm and wrist training effect—and avoid plateaus!


