If you're a home gym owner looking to level up your lower body workout game, you've come to the right place! Today, we're diving deep into the cable Romanian deadlift (RDL) – a fantastic exercise that's like poetry for your posterior chain. We'll cover everything from what a cable RDL is and the muscles it targets to step-by-step instructions, equipment requirements, alternatives, and FAQs. So grab your imaginary conductor's hat because we're about to ride the gains train!
The Cable Romanian Deadlift, or "cable RDL" for short, is a strength training exercise that's a goldmine for your hamstrings, glutes, and lower back. It's like a symphony of muscle engagement that helps improve your posture, stability, and overall strength. You might be familiar with the traditional RDL using a barbell or dumbbells, but the cable RDL adds a whole new dimension by incorporating a cable machine.
The cable RDL isn't just your everyday leg exercise; it's a masterclass for building a robust lower body. The key muscles it targets include:
1. Hamstrings
Your hammies are the star of the show during cable RDLs. This exercise puts them through the wringer, promoting strength, flexibility, and aesthetics.2. Glutes
If you're on a mission to sculpt a killer booty, cable RDLs are your trusty sidekick. They're excellent for targeting those glute muscles, making your derriere pop!3. Lower Back
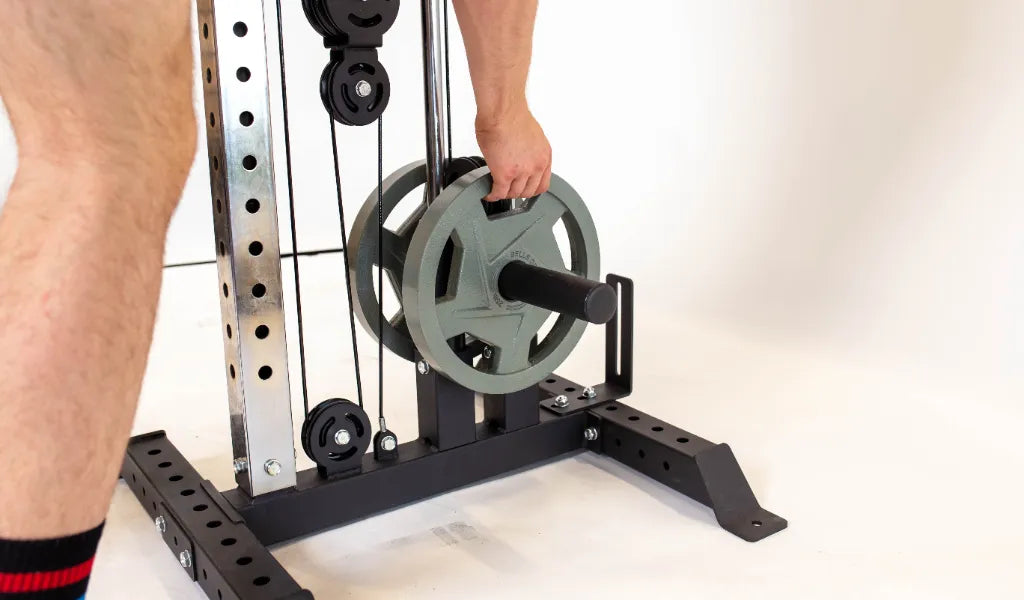
Your lower back gets a fantastic workout during cable RDLs, enhancing stability and reducing the risk of injury. Now, let's get to the nitty-gritty of how to perform this exercise with finesse. You'll need a few essential items for your home gym:- Cable Machine: This is your trusty steed for the exercise. Adjust the weight stack or load the plates to your preference.
- Cable Attachment: A straight bar or a rope attachment is ideal for this exercise.
- Weight Plates: If you have a plate-loaded machine, load up the cable machine with weight plates according to your fitness level.
Step 1: Set Up
- Stand in front of the cable machine with your feet shoulder-width apart.
- Attach the straight bar or rope to the low pulley and adjust the weight.
- Position the bar or rope so it's at mid-shin level.
Step 2: Form and Grip
- Stand tall with a slight bend in your knees.
- Hold the bar or rope with a shoulder-width, overhand grip.
Step 3: The Descent
- With a straight back and your chest up, hinge at your hips and push your glutes back as you lower the bar or rope toward the floor.
- Keep the bar close to your body as you descend, ensuring your spine stays in a neutral position.
- Go as low as your flexibility allows or until you feel a stretch in your hamstrings.
Step 4: The Ascent
- Push through your heels, engaging your hamstrings and glutes to return to the starting position.
- Squeeze your glutes at the top for that extra burn.
Step 5: Reps and Sets
- Aim for 3-4 sets of 10-12 reps to start. Gradually increase weight and reps as you progress.
- Don't forget to rest between sets to maximize your performance.


